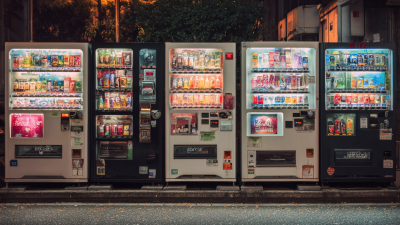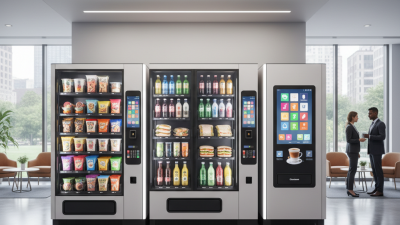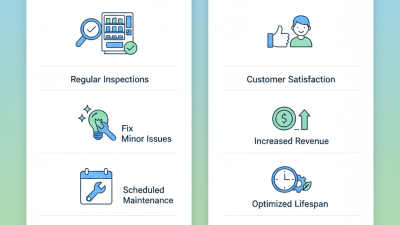
A vending machine rarely fails without warning. A sticky selection button, a warm drink compartment, or a coin return that hesitates can signal a problem before sales stop. That is why vending machine maintenance is not just a repair task. It is a routine of inspection, cleaning, and record-keeping that protects product quality and customer trust.
The scale of the industry makes reliable routines matter. NAMA’s 2023 Industry Census estimated that U.S. convenience services generated $26.6 billion in revenue in 2023; the figure covers vending and related services, not vending alone. ENERGY STAR says certified vending machines use about 40% less energy than standard models. That saving depends on equipment, settings, and operating conditions. Dust around condenser coils, blocked airflow, or a door seal that no longer closes tightly can undermine performance. Small checks count.
Quality expert W. Edwards Deming wrote, “Quality comes not from inspection, but from improvement of the production process.” His principle applies to maintenance: a checklist helps, but the notes beside it matter too. Record temperature readings, unusual sounds, leaks, and repeat service calls. A quiet machine is not always a healthy machine. No checklist catches every odd rattle, and operators should follow the manufacturer’s service instructions rather than guess at repairs. A named vending-maintenance specialist’s quotation should be verified against a published source before use; an untraceable quote would weaken the reliability this guide aims to support.
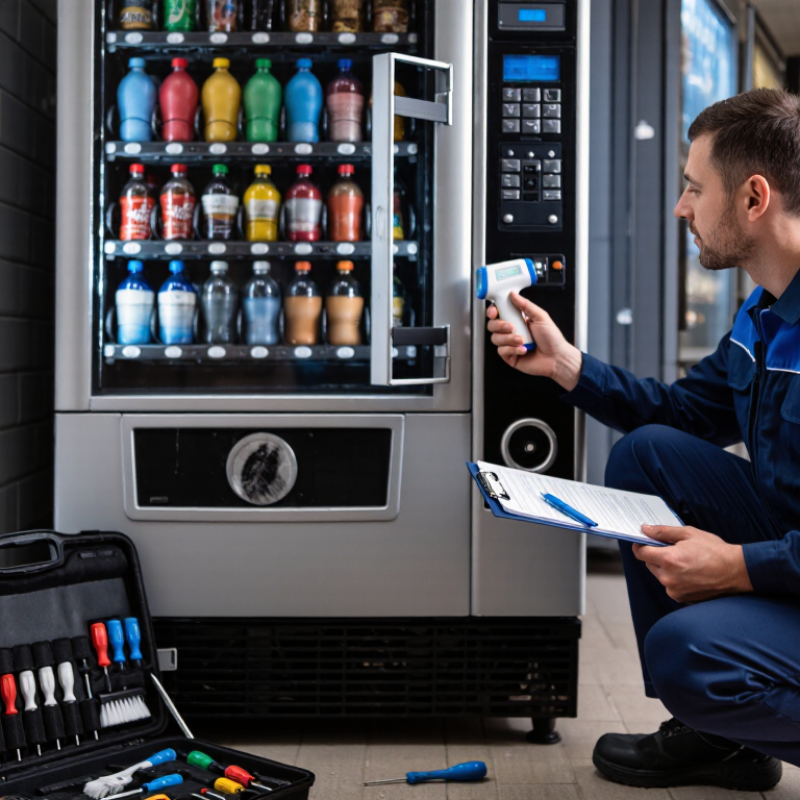
Before opening a vending machine, move customers and nearby obstacles away from the work area. Place a clear notice on the front so nobody tries to use it during service. Remove products that could fall when shelves or panels are moved. Check the floor for spilled drinks, loose packaging, or moisture near the power cord. Small details matter.
Disconnect the machine from its power source before cleaning internal parts or removing panels. Do not rely only on the display being dark; some components may still hold electrical energy. Follow the machine’s service instructions, and leave electrical repairs to a qualified technician. If the plug is damaged or hard to reach, stop and arrange safe access rather than pulling the cord. Give it time.
Wear suitable work gloves, but avoid loose sleeves or jewelry that could catch on moving parts. Use a stable step stool if you need to reach the top; never balance on the machine. Keep liquids away from exposed wiring, and use a damp cloth only where the instructions permit. I have seen routine jobs become awkward when tools are scattered across the floor, so set them on a dry, stable surface before starting. Recheck that the machine cannot be switched on accidentally.
How to Maintain a Vending Machine Properly: Inspect the Exterior, Interior, and Components
Start outside, where customers notice grime, damage, or unclear product labels. Wipe the cabinet, keypad, display, and dispensing flap with a suitable cleaner. Check for sharp edges, loose panels, blocked vents, and signs of water entry. Look closely at hinges and locks; a door that does not close flush can compromise security and cooling. Clean the area around the machine, too. Dust and litter collect quickly.
Then inspect the interior with power isolated when the manufacturer’s instructions require it. Remove spills and debris, and check shelves, product guides, and the delivery chute for sticky residue or obstruction. For refrigerated food, compare the unit’s temperature with the FDA Food Code 2022 cold-holding benchmark of 41°F or below. That number matters. Check door gaskets for cracks and condenser coils for dust, since restricted airflow can hinder cooling. Inspect wiring, lights, motors, and payment hardware for wear, unusual heat, or loose connections. Record defects and repairs; recurring faults deserve attention, not another quick reset. A checklist helps, but it can still miss a failing seal. Recheck after restocking, and schedule qualified service for electrical or refrigeration repairs.
Suggested inspection intervals for the exterior, interior, and key components.
Inspect the exterior daily, clean the interior and check payment and dispensing mechanisms weekly, and review refrigeration airflow and electrical connections monthly. Adjust intervals for usage, operating conditions, and manufacturer guidance.
Clean the cabinet, shelves, and dispensing areas on a regular schedule, not only when dirt is obvious. The CDC estimates that about 48 million people in the United States get sick from foodborne illness each year. That estimate is not specific to vending machines, but it shows why clean food-handling surfaces matter (CDC, “Estimates of Foodborne Illness,” 2011). Wipe the cabinet with a clean, damp cloth and a suitable cleaner. Remove shelves when the machine’s instructions allow it, then wash and dry them fully before replacing them. Small details matter. Check shelf corners, seams, and the dispensing opening, where crumbs, sticky residue, and dust can collect. Avoid spraying liquid near electrical parts.
Pay close attention to the delivery area: residue there can transfer to packages or hands. Use a clean cloth, and change it when it becomes dirty. Follow the cleaner’s label for contact time, and let surfaces dry before restocking.
That interval may not fit every vending machine, so check the food type and applicable requirements. A common oversight is the underside of a shelf. It is easy to miss. Note cleaning dates and any damaged surfaces, then repair or replace them as needed. Cleaning logs are not glamorous, but they make missed tasks easier to spot.
Electrical checks should begin with the machine unplugged. Look for cracked insulation, loose plugs, scorch marks, or a warm outlet. These are warning signs, not cosmetic flaws. Do not open energized panels unless you are qualified to work on them. Keep a simple service log with dates, symptoms, and repairs. Small clues matter. A brief flicker may point to a loose connection, but repeated resets can hide a larger fault.
Cooling performance depends on airflow and clean surfaces. Brush dust from the condenser grille and leave space around the vents. Check that the door seal sits flat, with no gaps at the corners. Record the cabinet temperature at the same time each visit, then compare readings. A clean grille alone proves little. If the unit stays warm or cycles constantly, arrange a technician’s inspection rather than adjusting sealed components yourself. I sometimes overlook the drain area; it is worth checking for standing water.
Test payment functions with an approved, low-value transaction, then confirm that the display and vend response match. Inspect the reader for dirt, damage, or a loose cable, and check network status if payments stall. Never record customers’ full payment details in a maintenance notebook. Try a second test only after the first result is clear. It can feel tedious. Still, a short, consistent check helps separate a payment fault from a jammed product or power issue.
How to Maintain a Vending Machine Properly
Restock Products and Test Machine Operation
Restocking is more than filling empty spaces. Check the product plan, then compare each shelf with its labels and prices. Rotate stock so older items move forward, and inspect packaging for dents, leaks, or broken seals. Small details matter. A crooked package can block a spiral coil or keep a product from dropping.
Before closing the machine, test several selections from different rows. Confirm that the display shows the correct price, payment is accepted, and each item reaches the pickup bin. Watch for slow spirals, unusual noises, or products catching on shelf edges. Clear jams only as instructed in the machine’s service guide, and avoid forcing parts into place. It is easy to rush this check when customers are waiting. Still, one failed selection can leave someone without a product and create extra service work. Record low-stock items, test results, and any faults in a simple log. Review that log during the next visit; repeated problems may point to a shelf setup that needs adjustment.
| Task | Suggested Frequency | Procedure | What to Check | Record |
|---|---|---|---|---|
| Review stock and sales | Before each restock visit | Check inventory levels and recent sales; bring suitable quantities of fast-selling products. | Low-stock selections, empty slots, and products that are not selling. | Stock counts and items to replenish or adjust. |
| Inspect products and dates | Every restock | Remove expired, damaged, leaking, or recalled items. Rotate remaining stock so earlier expiration dates are sold first. | Packaging condition, expiration or use-by dates, and product suitability for the machine. | Removed items and any product concerns. |
| Restock and arrange products | As needed; verify at each visit | Load products into the correct selections. Follow the machine's loading instructions and avoid overfilling. | Products sit correctly, labels and prices match selections, and items can move freely. | Products added and any selection changes. |
| Check refrigerated products | At each visit, where applicable | Read the machine's temperature display or an appropriate thermometer and follow applicable food-safety requirements. | Temperature is within the required range for the products; report readings outside the specified limit. | Temperature, time, and corrective action if needed. |
| Test product dispensing | After restocking and when a fault is reported | Use the machine's approved test procedure or make a test purchase, if permitted, from representative selections. | Product dispenses without jamming, arrives in the retrieval area, and the selection matches the purchase. | Selections tested and any failed vend or jam. |
| Test payment and display | At each service visit | Check the display and follow the approved test process for available payment methods. | Prices are legible and correct; payment is accepted and the transaction completes as expected. | Payment methods checked and any error messages. |
| Clean accessible surfaces | At each visit | Wipe the exterior, touchpoints, and product retrieval area with a suitable cleaner; follow product and machine instructions. | Surfaces are clean and dry, and cleaning does not obstruct vents or openings. | Cleaning completed and any damage noticed. |
| Check machine condition and close out | At each visit | Confirm doors close securely, the machine is stable, and no warning indicators or unusual sounds are present. Report faults for qualified service. | No visible damage, loose parts, blocked ventilation, or unresolved error messages. | Visit date, completed tasks, faults, and follow-up needed. |
Frequency is a practical guide; adjust it for sales volume, product requirements, local food-safety rules, and the machine's operating instructions. Do not attempt electrical repairs unless qualified.